Installing the backup agent on Windows operating systems
Minimum requirements
The minimum system requirements are as follows:
- Processor architecture: x86_32+SSE2 or x86_64
- Minimum screen resolution 1024x600
- Windows versions 7, 8, 8.1, 10 or newer
- Windows Server versions 2008 R2, 2012, 2012 R2, 2016 or newer
Installation
Follow these steps to install your backup agent:
- Log in to the client area with your email and password.
- Select from the left menu Active services -> Delta Cloud Backup and select your service to open its settings.
- Add a new device for backup by selecting Devices -> Add device from this page.
- Select Windows from the operating system type menu.
- On the next screen you will see 2 options - to download the installation script to your computer or to download it directly to the device you want to back up using the direct download URL
https://backup.eu-sof-1.deltacloud.io/dl/1. After completing one of these actions, click the Next button. - Open the Windows machine that will be backed up and extract the downloaded file into an empty directory.
- Open the directory where you extracted the contents of the archive.
- Run the file
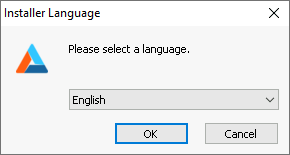
install.exeto start the backup agent installation. - On the first window, you will need to select a language:
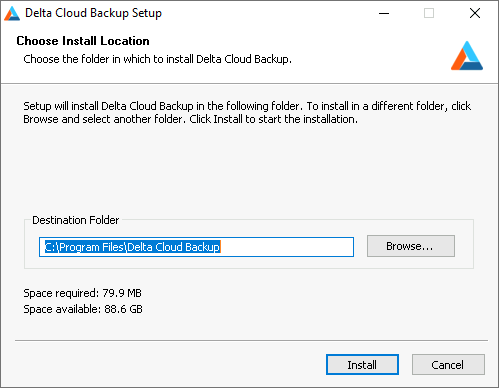
- Then, you will be asked where to install the backup agent:
- Follow the remaining steps to complete the installation.
- When you start the backup agent for the first time, you will be asked for a username and password:
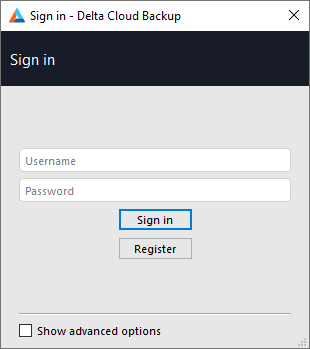
- Go back to the client area. On the fourth step of Devices -> Add device you will find your username and password.
If you have completed the installation and configuration successfully, you will be greeted by a graphical interface through which you can configure your backup. For your convenience, after you have successfully connected your device, you can configure your backups through your client area.