Security Groups
Security groups are sets of rules that control inbound and outbound network traffic on your server's network interfaces. Each group contains a list of rules that determine which traffic is allowed and which is blocked.
The default groups and custom groups created for your project are shared across all Cloud VPS servers in the project.
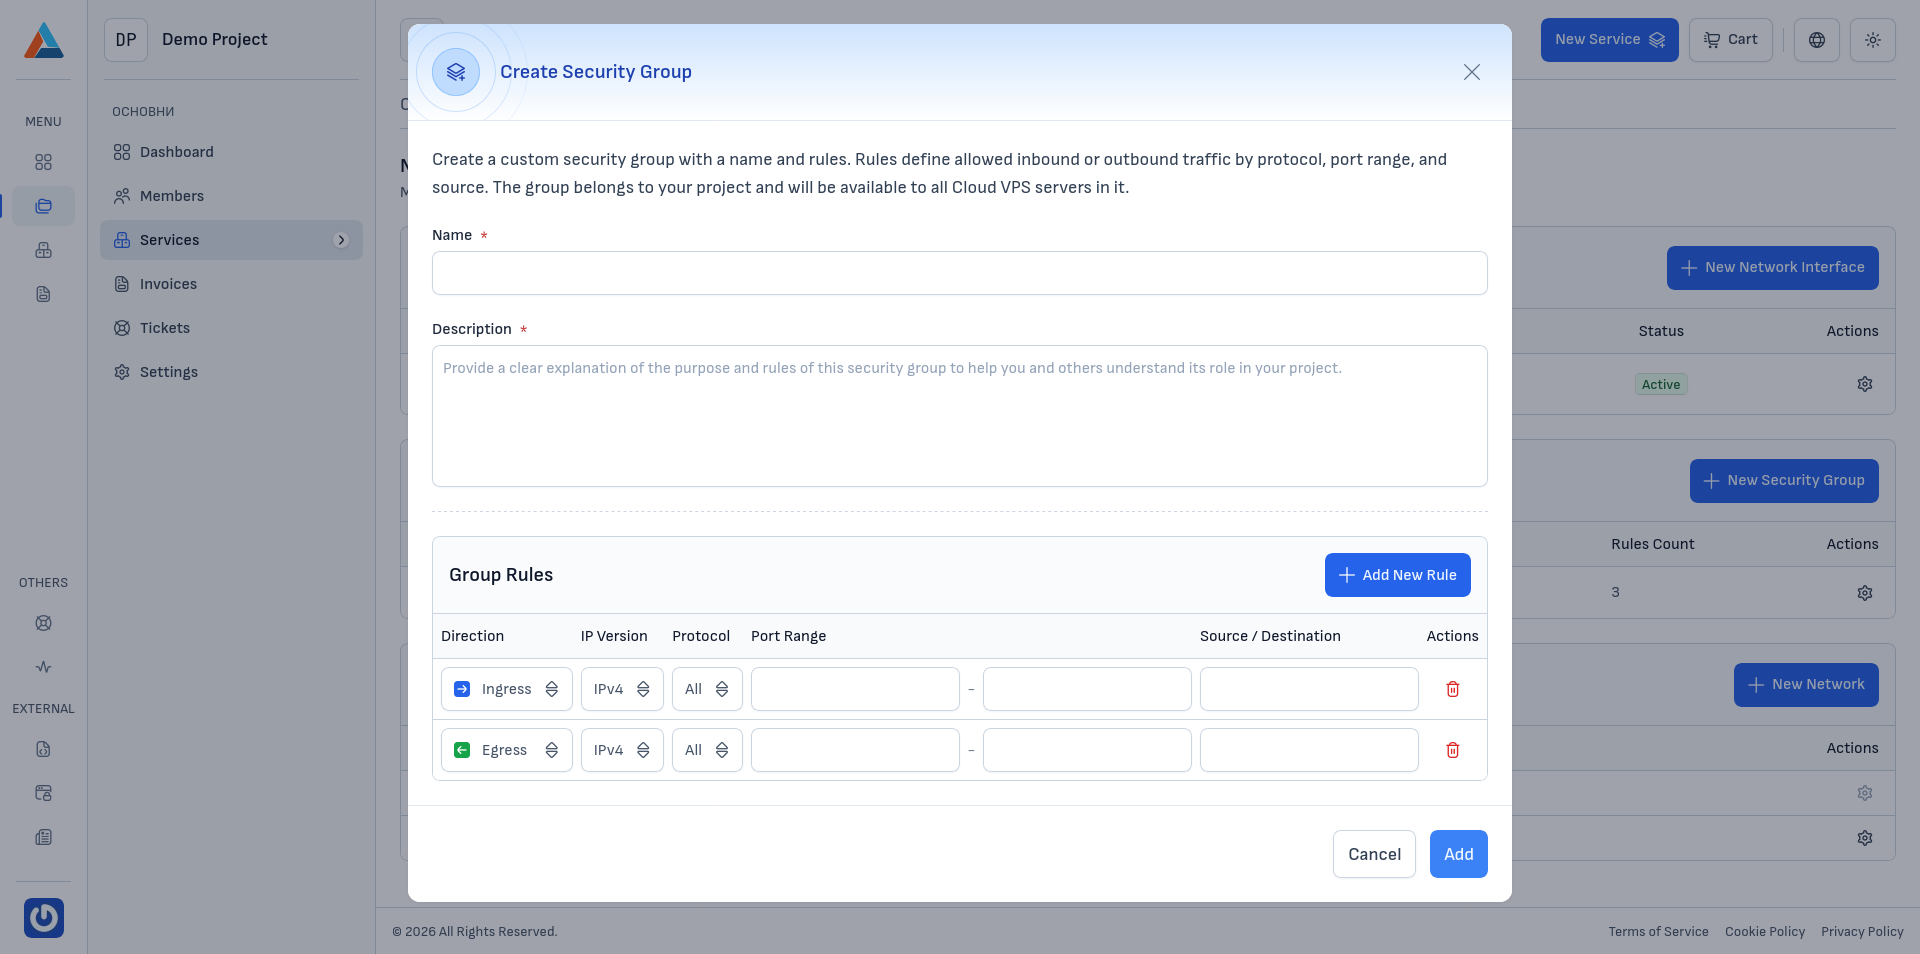
Creating a Security Group
-
Navigate to the Section
Go to the "Network Configuration" section on the service page.
-
Open the Creation Dialog
In the "Custom Security Groups from the Project" section, click the "+ New Security Group" button to open the creation dialog.
-
Enter the Parameters
-
Name
Enter a name for the security group that clearly describes its purpose (e.g.,
web-server-public). -
Description
Enter a description explaining the group's purpose and what traffic it allows (e.g., "Security group for a public web server. Allows SSH access and inbound HTTP/HTTPS traffic").
-
Group Rules
Configure the traffic rules. Each rule includes:
- Direction — inbound (Ingress) or outbound (Egress) traffic
- IP Version — IPv4 or IPv6
- Protocol — TCP, UDP, ICMP, or other
- Port range — a specific port or range of ports
- Source / destination — IP address or network range (CIDR)
Click the "+ Add new rule" button to add additional rules.
-
-
Confirm
Click the "Add" button to create the security group.
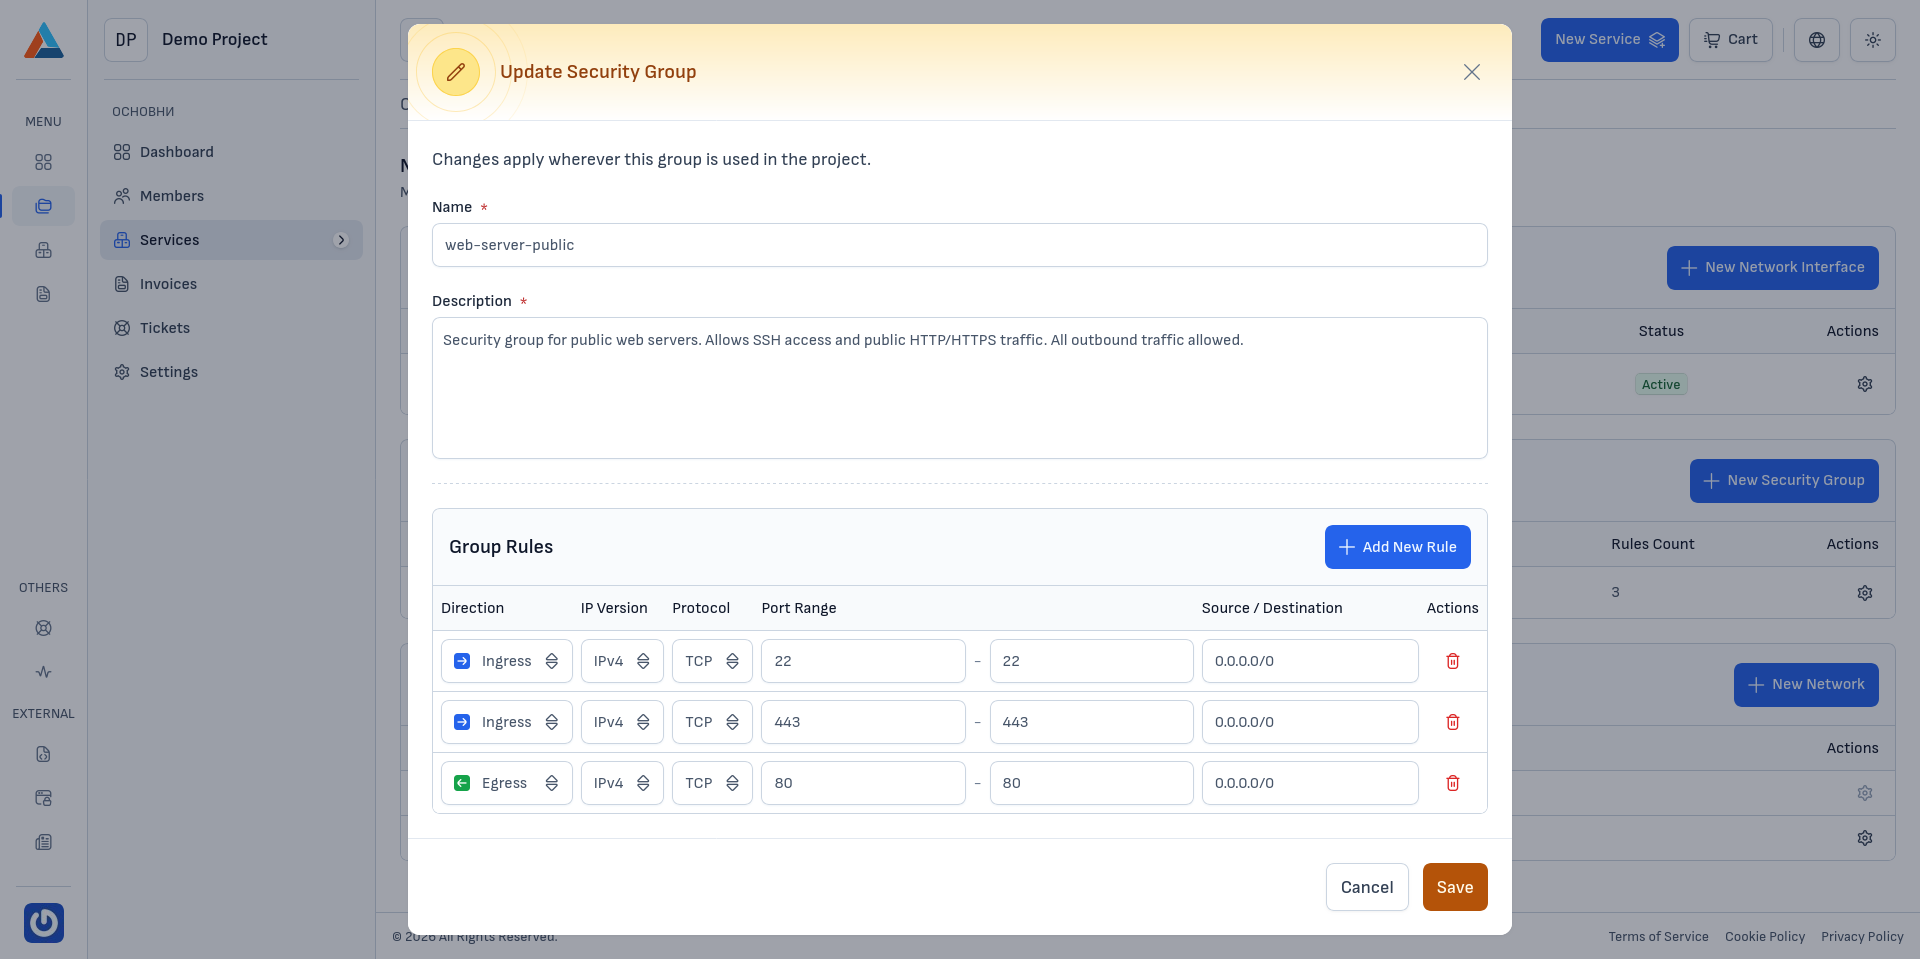
Editing a Security Group
-
Navigate to the Section
Go to the "Network Configuration" section on the service page.
-
Select a Group to Edit
In the "Custom Security Groups from the Project" section, click the edit button in the "Actions" column of the group you want to edit, to open the update dialog.
-
Modify the Parameters
You can change:
- The name and description of the group
- Add new rules using the "+ Add new rule" button
- Delete existing rules using the delete button on each rule
-
Confirm
Click the "Save" button to apply the changes.
Note
Changes to the security group will be automatically applied to all network interfaces using this group.
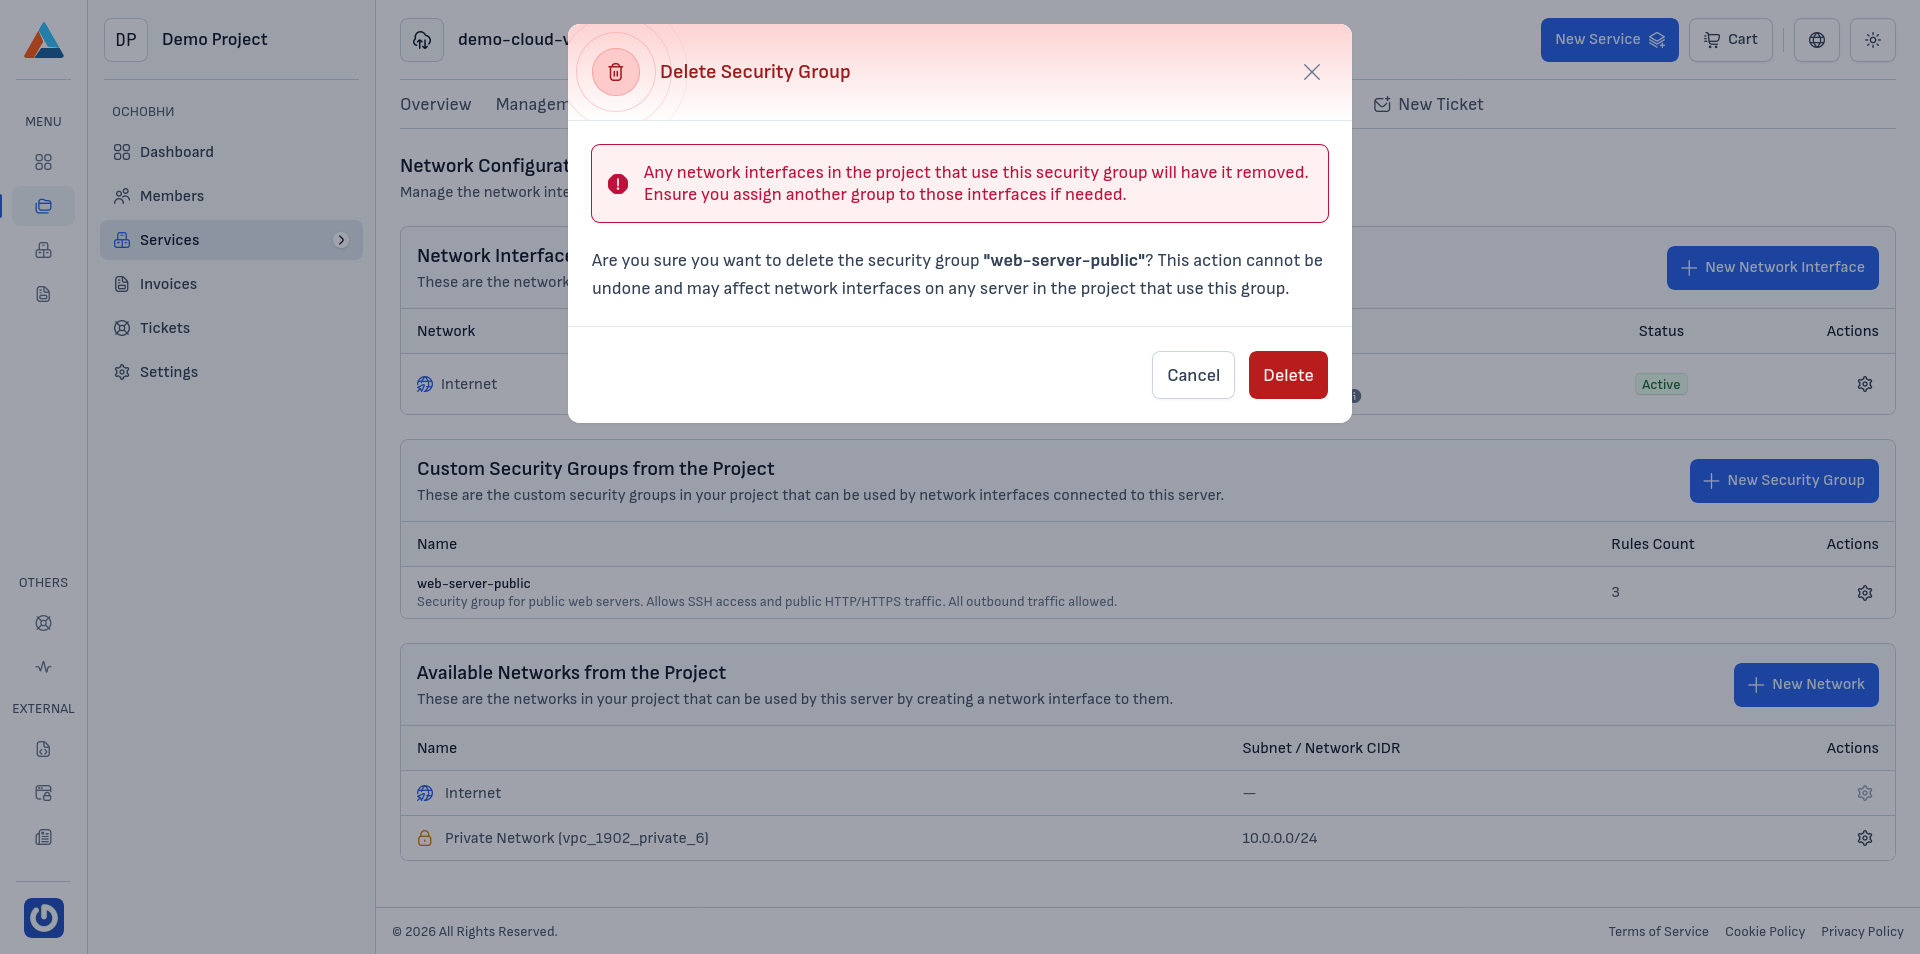
Deleting a Security Group
Note
A security group that is currently in use by a server (through network interfaces) cannot be deleted. To delete such a group, you must first remove it from all network interfaces connected to it.
-
Navigate to the Section
Go to the "Network Configuration" section on the service page.
-
Select a Group to Delete
In the "Custom Security Groups from the Project" section, click the delete button in the "Actions" column of the group you want to delete, to open the confirmation dialog.
-
Confirm
Click the "Delete" button to confirm the action.
Warning
This action is irreversible.