Managing Volumes
Attaching a Volume
To attach an available volume from your project to the server, follow these steps:
-
Navigate to the Section
Go to the "Volumes" section on the service page.
-
Select a Volume
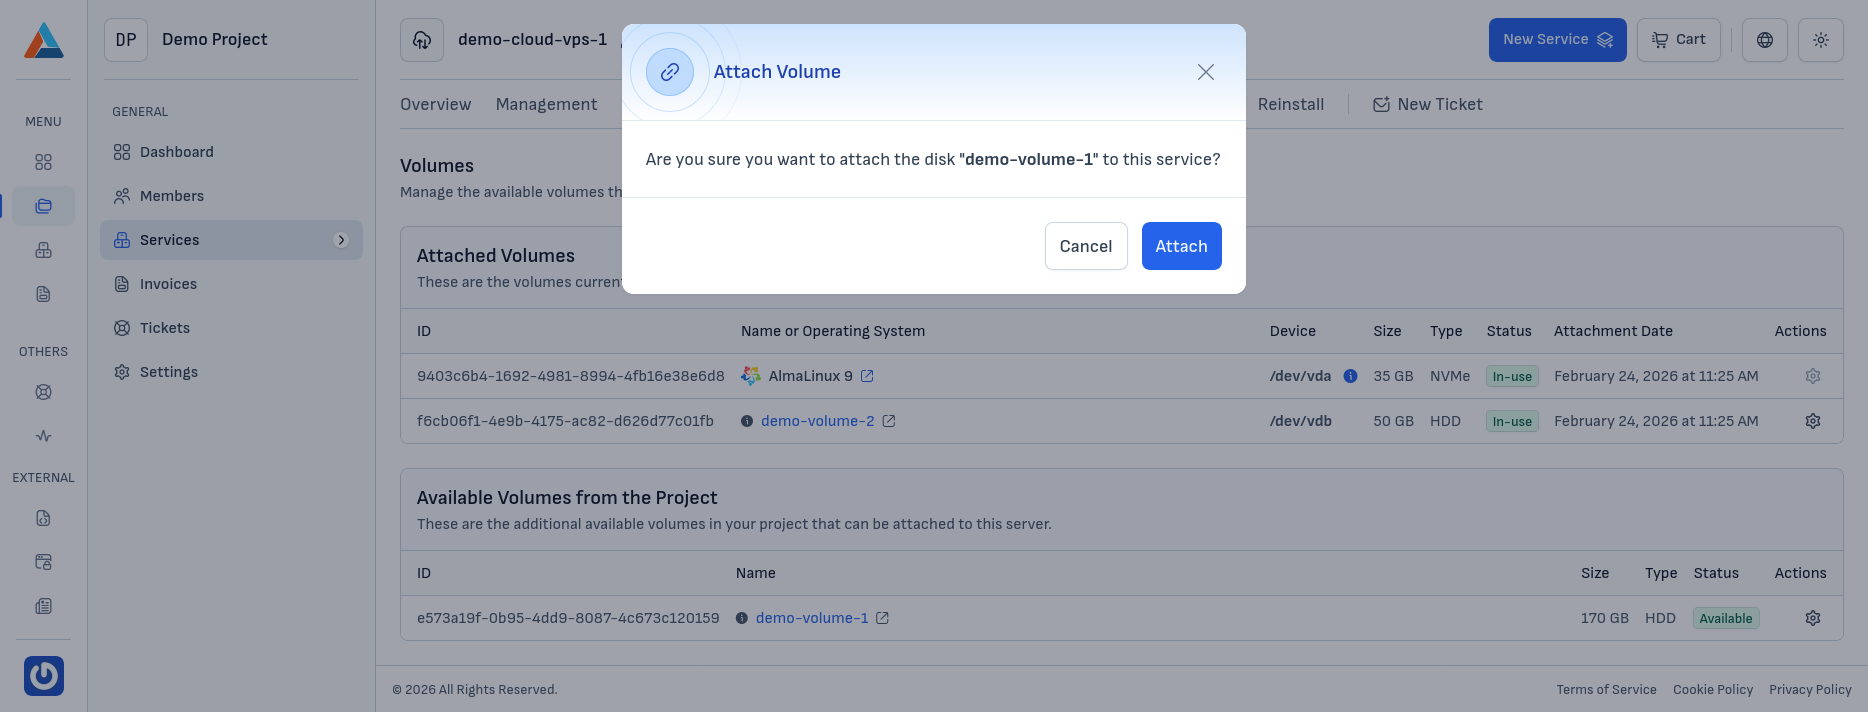
In the "Available Volumes from the Project" section, find the volume you want to attach and click the "Attach Volume" button in the "Actions" column to open the confirmation dialog.
-
Confirm
Click the "Attach" button to confirm the action.
Note
After attaching, the volume appears in the "Attached Volumes" section. Depending on the operating system, you may need further configuration on the server—formatting, file system, or mounting—using the command line on Linux or Disk Management on Windows.
For OS-level setup after attach, see the guides in this section.
Detaching a Volume
To detach a volume from the server, follow these steps:
-
Navigate to the Section
Go to the "Volumes" section on the service page.
-
Select a Volume to Detach
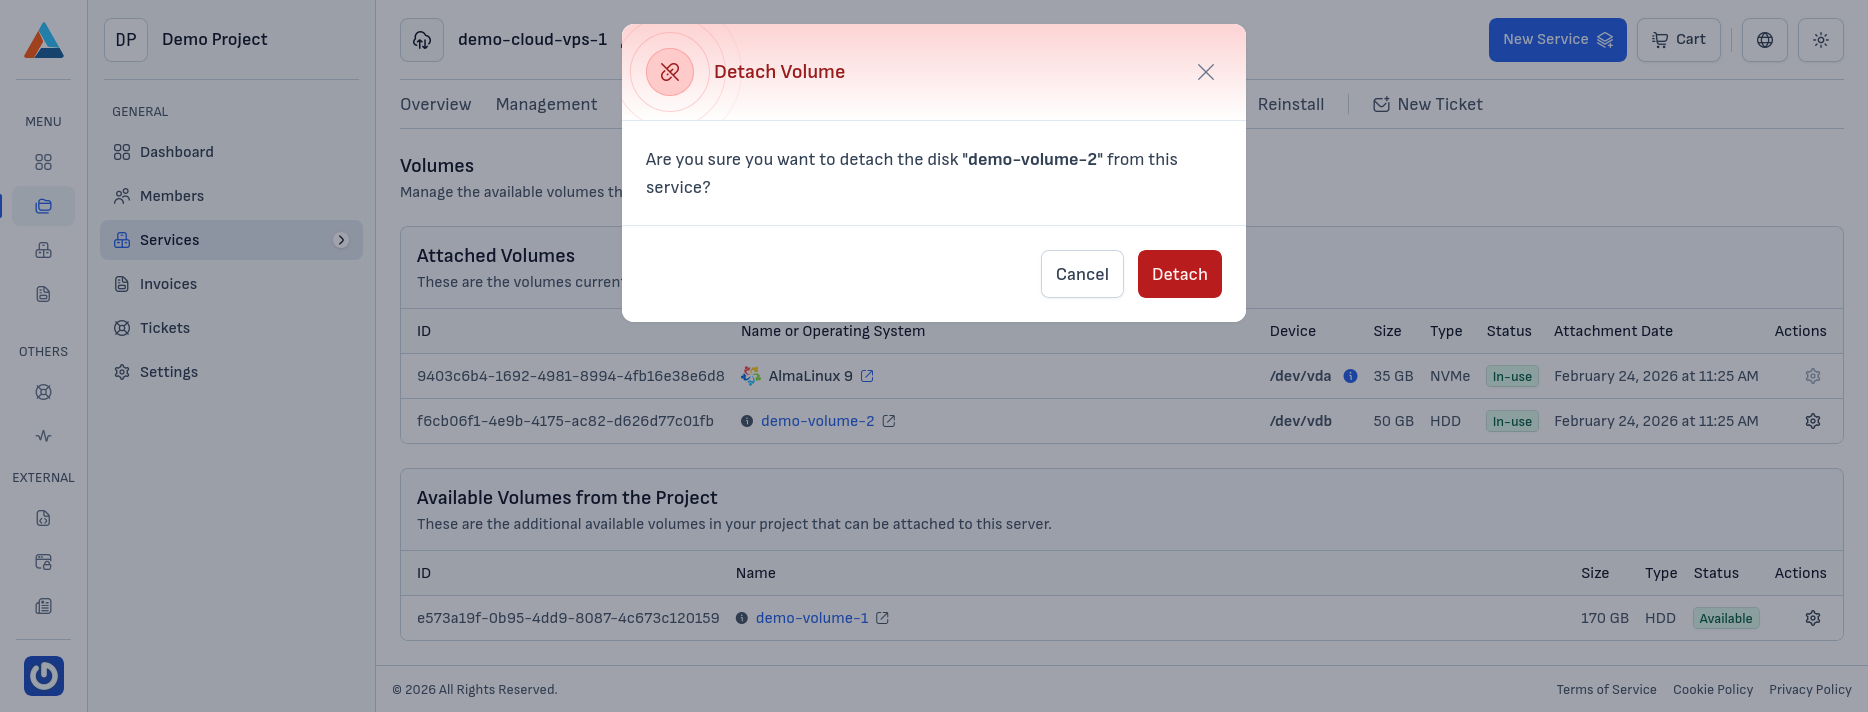
In the "Attached Volumes" section, find the volume you want to detach and click the "Detach Volume" button in the "Actions" column to open the confirmation dialog.
-
Confirm
Click the "Detach" button to confirm the action.
Warning
Before you detach a volume, make sure no active processes are writing data to it.