Ordering and Activation
Service Review and Configuration
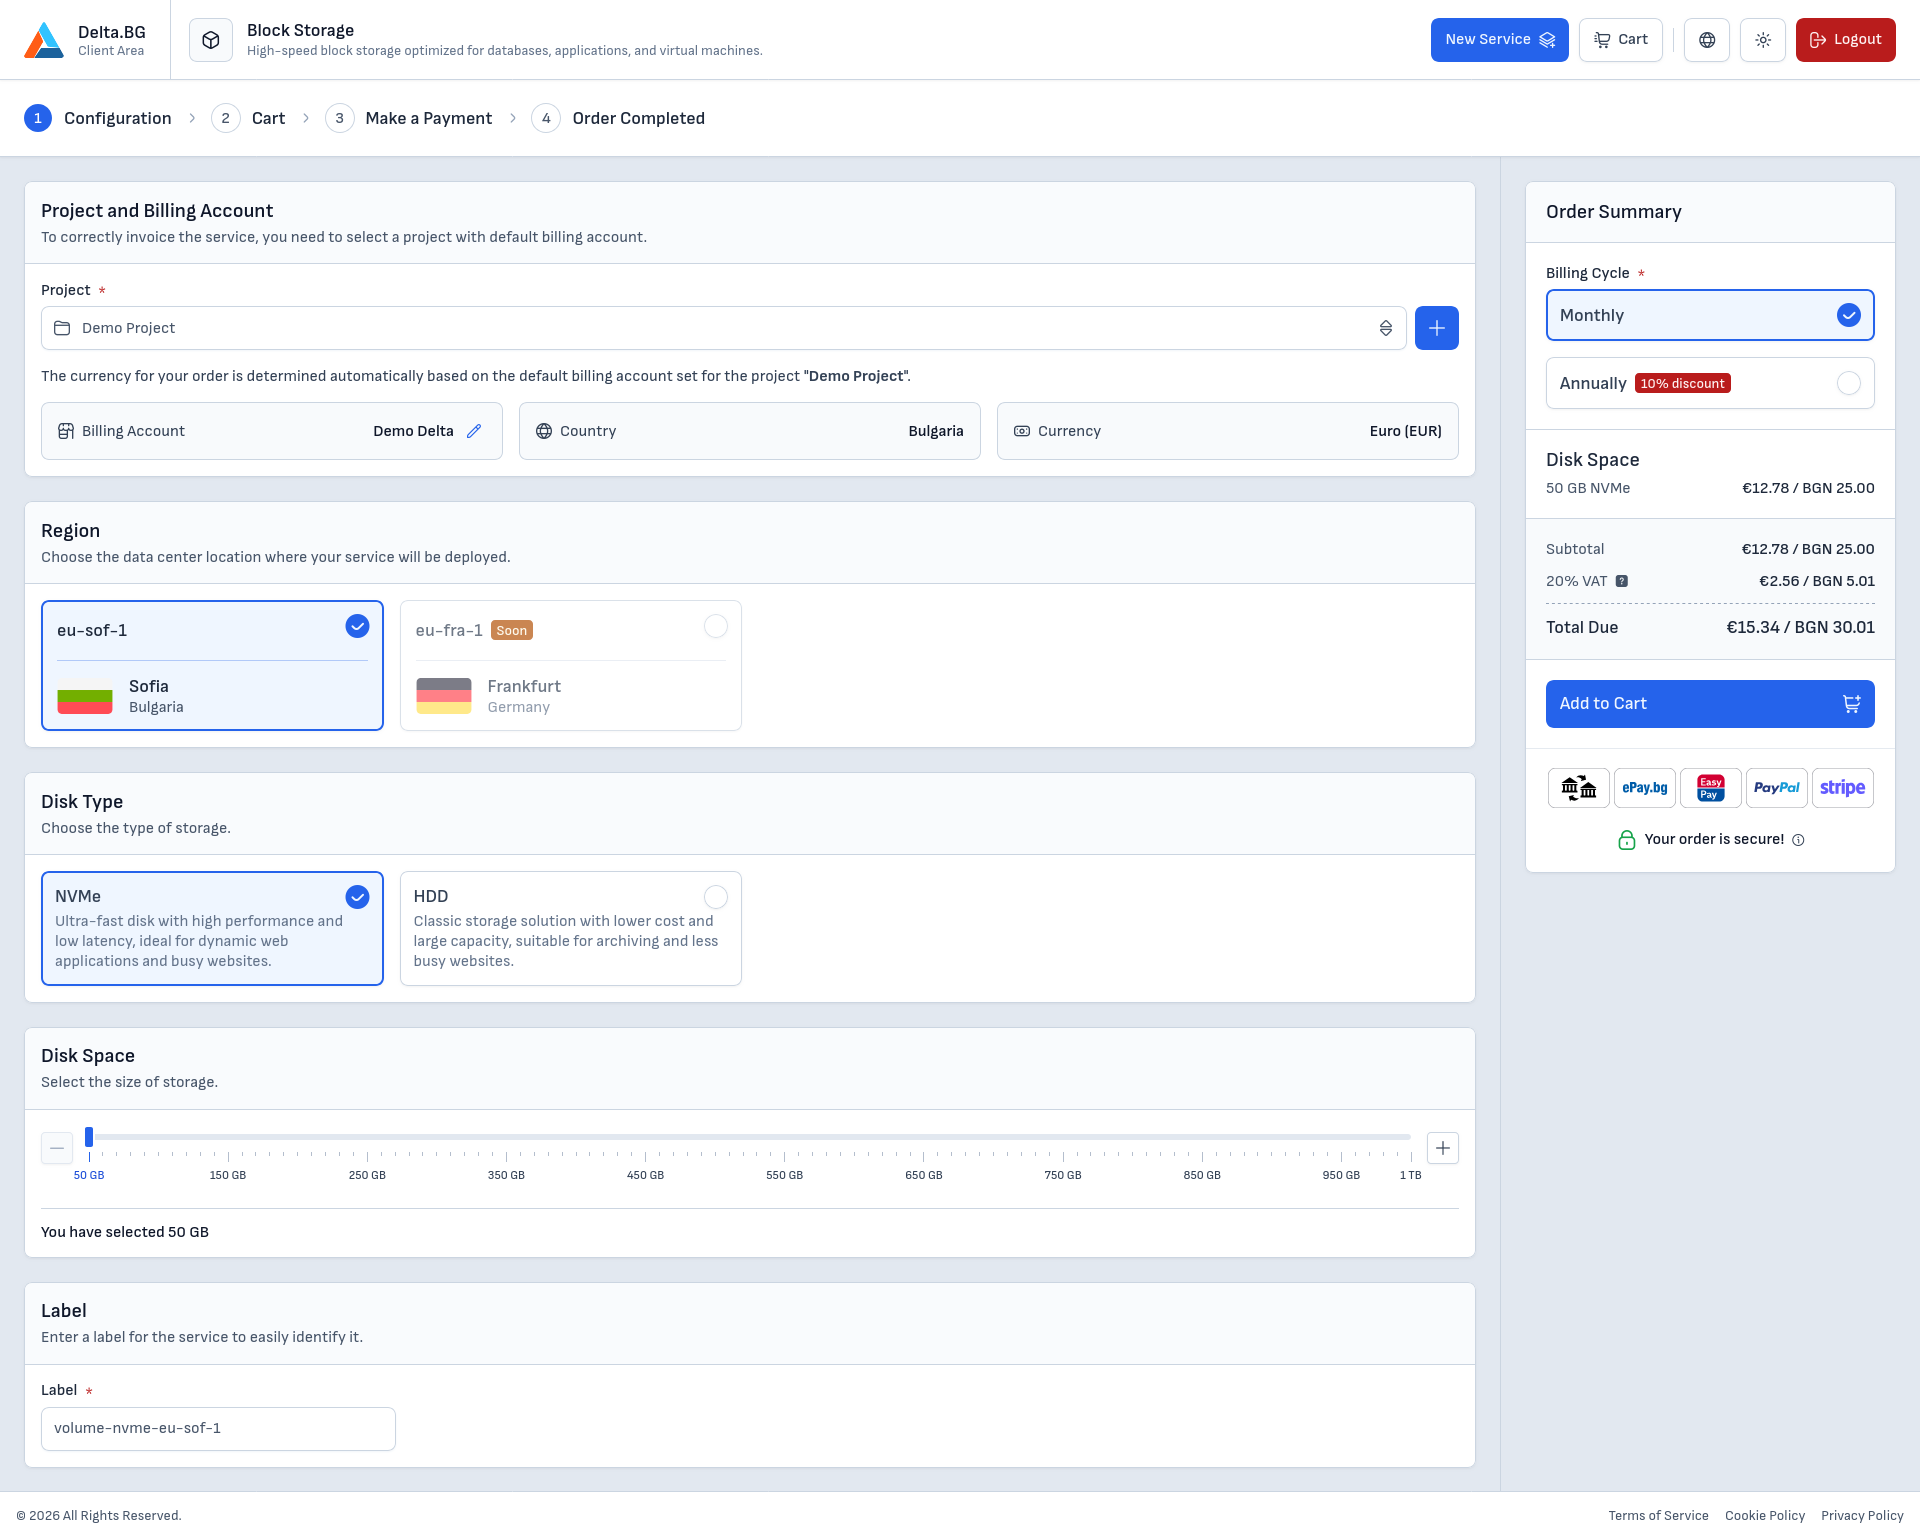
In this section, we'll walk through how to configure the Block Storage service from Delta.BG step by step, before adding it to your cart and completing the order.
Navigate to the ordering page for the Block Storage service from your client area or from the official page on Delta.BG. There you'll see the service configuration page.
Project and Billing Details
At the top of the page, you'll see the "Project and Billing Details" section. The contents of this section depend on whether you're logged in to your account:
- For guests (unregistered users) — you'll see options to select the entity type (individual or company), country, and currency for payment.
- For logged-in users — you'll see the option to select a project, from which the entity type, country, and currency are automatically taken based on the billing details configured in the project.
Configuring the Service
On the left side of the page, you'll see the service configuration options.
Region Selection
Choose the region where you'd like your volume to be located. The available region is eu-sof-1 — Sofia, Bulgaria.
Note
The volume must be in the same region as the Cloud VPS server you plan to attach it to.
Disk Type
Select the disk type for your volume:
- NVMe — high-speed NVMe drives for performance-critical workloads such as databases and applications
- HDD — cost-effective HDD drives for bulk data storage and archival purposes
Disk Space
Use the slider to select the desired storage capacity for your volume. The available range is from 50 GB to 1 TB. The price is calculated automatically based on the selected size and disk type.
Label
The system suggests an automatic label, which you can change as you see fit. The label is visible in the list of services and on the volume's service page.
Order Configuration
On the right side of the page, you'll see the order summary and additional settings, such as:
Billing Cycle
Select the billing period for the service. The available periods are Monthly and Annually (the latter is more cost-effective, as it offers a lower monthly price).
Order Summary
In the summary, you'll see:
- Service — the service specifications and their base prices excluding VAT
- Tax base — the amount on which VAT will be calculated
- VAT (20%) — the tax that will be applied to the tax base
- Total amount due — the final price including VAT
Adding to Cart and Reviewing the Order
Once you've configured all the settings, click the "Add to Cart" button to proceed.
On the next screen, you'll see a summary of the services added to your cart and their final price. Carefully verify that all the settings you've selected are correct by expanding the details of each service.
Check the box to agree to the terms and conditions, then click the "Next" button to continue.
Completing the Order
After clicking the "Proceed to Payment" button from the cart, you'll be directed to a payment method selection page.
Selecting a Payment Method
Choose the payment method you'd like to use:
- Bank transfer
- PayPal
- Stripe (card payment)
- EasyPay
- ePay.bg
Confirmation and Payment
After selecting a payment method, click the payment button at the bottom of the page.
Depending on the chosen method, the process varies:
- PayPal, Stripe, or ePay.bg — you'll be redirected to the respective platform to complete the payment immediately. After a successful payment, you'll see a confirmation screen.
- Bank transfer or EasyPay — the order will be created, and you'll see a confirmation screen indicating that the order has been placed successfully. The service will be activated once your payment is received.
Service Activation
If you completed the payment immediately (via PayPal, Stripe, or ePay.bg), the service will be activated automatically within a few minutes. If you chose bank transfer or EasyPay, the service will be activated automatically once your payment is received.
Once activated, the volume will appear in your list of services in the client area. You can then attach it to a Cloud VPS server from the server's Volumes section.